 EN
EN
 中文简体
中文简体 English
LK Machinery
LK Machinery
LK Machinery
LK Machinery
LK Machinery
LK Machinery
LK Machinery
LK Machinery
LK Machinery

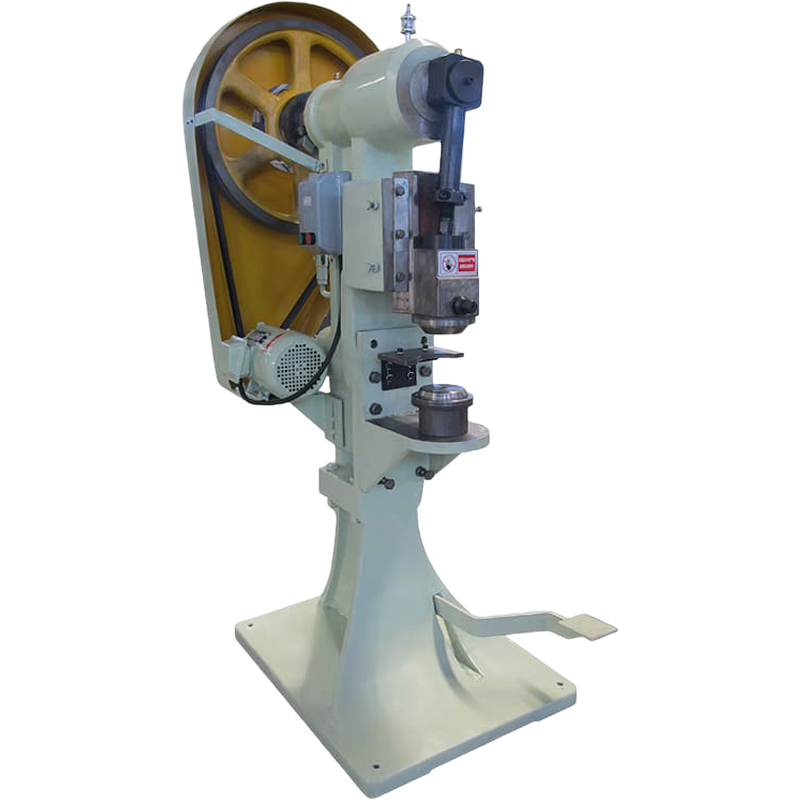
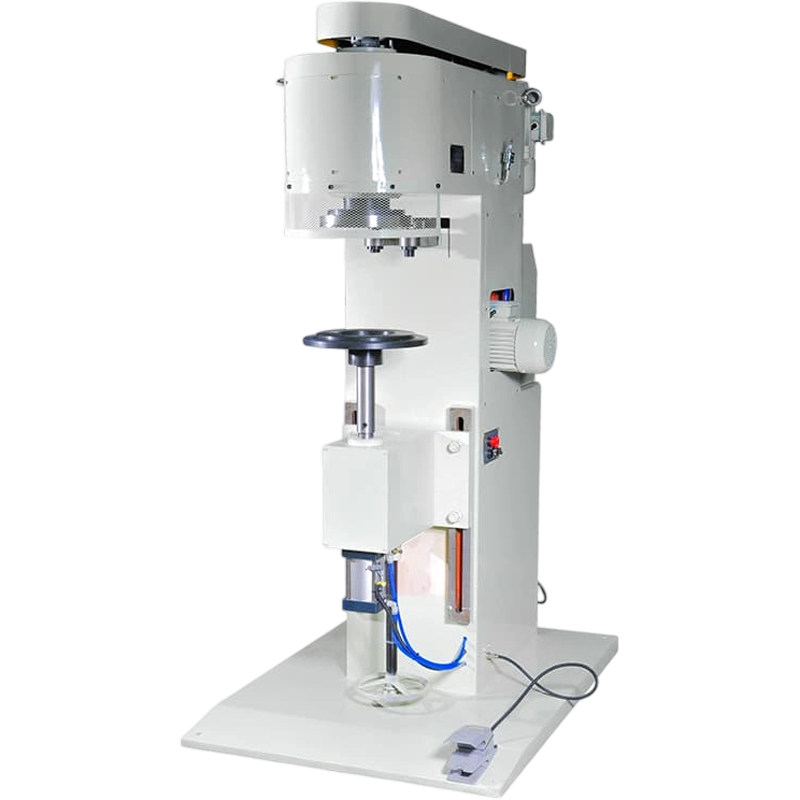
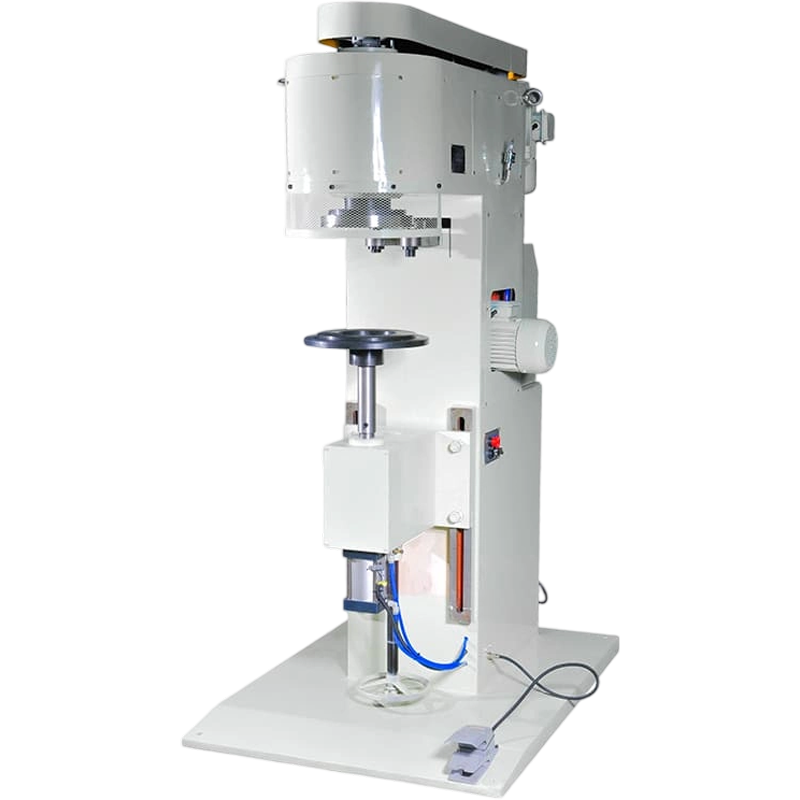
GT4A1 Manual Sealing Machine
1. Operation and maintenance
1. The operator must be fully familiar with the structure and performance of the machine.
2. Before each shift starts work, the operating parts on the hand puller must be turned on, and then the motor will start in intermittent contact mode, allowing the entire machine to run for a short period of time. If abnormal conditions are found, repairs should be carried out in a timely manner.
3. To operate, depress the foot pedal, press the can between the pressure head and the turntable, turn it with the turntable, and then turn the handle to seal the can. When sealing jars, the movements of both hands and feet must be regulated (hand plate weight not exceeding 5 kg, foot pedal weight not exceeding 11 kg) so as not to affect the sealing quality and adjustment accuracy.
4. To remove dust frequently and keep the whole machine clean. All matching parts must be lubricated frequently, and needle roller bearings must be buttered.
II. Adjustment and Installation
1. Adjustment of sealing wheel height and feed
(1) Loosen the nut on the ring bolt and the lock nut on the adjusting bolt. Loosen the hex bolts slightly. Turn the adjusting bolt to raise or lower the rocker arm, thereby adjusting the height of the sealing wheel relative to the indenter, and then tighten the lock nut. Please note that the applied force should not be so great as to damage the threads and affect the accuracy of the adjustment.
(2) Place the sealing can on the turntable, press the foot pedal to press the can between the pressure head and the turntable, adjust the position of the rocker, and then turn the handle to roll the sealing wheel along the working groove and the can to seal. The seal is tightly connected, then tighten the nut and hex bolt. If there is no standard round can, the position of the rocker arm can be adjusted directly based on the relative positions of the sealing wheel and the indenter. After preliminary adjustment of the position of the sealing wheel, a test sealing operation must be carried out using several empty tanks until the sealing effect of the roll seal reaches the required standard.
2. Adjust the height of the replacement water tank
(1) Loosen the fixing bolts on the tray positioning rod and the hexagonal bolts on the positioning ring so that the tank positioning rod and the lifting rod can be freely adjusted.
(2) Place the sealed tank on the turntable, press the foot pedalⅠ, loosen the bolts on the fastening ring, adjust the height of the lifting rod so that the foot pedalⅠ is in the appropriate position. At this time, the turntable and the pressure head will press the tank body, and then tighten the bolts.
(3) Adjust the locating ring to the correct position and tighten the hex bolts.
(4) Adjust the tray to the same height as the turntable and tighten the bolts.
3. Adjustment of replacement tank number
(1) When replacing an original sealed glass can with a tin can, the following components need to be replaced: ① Replace the back plate; ② Replace the indenter; ③ Replace the sealing wheel; ④ Add two sealing wheels; ⑤ Add two sealing wheels; ⑥ Add a gasket.
(2) When replacing the original sealed tin-plated thin steel plate tank with a tin-plated thin steel plate tank of different diameters, only the pressure head of the corresponding size needs to be replaced.
(3) When replacing a sealed glass can with an original iron can, the following components need to be replaced: ① Replace the back plate; ② Replace the indenter; ③ Remove the sealing wheel; ④ Remove the second sealing wheel shaft and the gasket on the shaft; ⑤ Two sealing wheels. After the parts to be replaced have been replaced, the seal adjustment and test are carried out as described in (1).
Recommended Products


Leave a message online!
Contact Us
- Mobile: +86-13666712509
- Tel: +86- 0573-8802501
- Email: yuequ@lkmach.com
- Whatsapp: +86 136-6671-2509
- Address: No. 5, Huatian Road, Siqian Community, Cengang Street, Dinghai District, Zhoushan City, Zhejiang Province
Quick Links
Product
- Convenient barrel production line
- 18 L Square Tank Production Line
- 1-5 liter square tank production line
- 1-5 liter round can production line
- Tea cans, craft cans (square cans)
- 18.5 Conical coating barrel production line
- 18.5 Straight Paint Bucket Production Line
- Vacuum cleaner [housing] complete set of equipment
- 50 L Chemical Barrel Production Line
- Forming mold
- Can lid production line
- 18-20 liter barrel production line
Mobile
Copyright © 2025 Zhoushan Dinghai Lekai Can Machinery Factory
