 EN
EN
 中文简体
中文简体 English
LK Machinery
LK Machinery
LK Machinery
LK Machinery
LK Machinery
LK Machinery
LK Machinery
LK Machinery
LK Machinery
Industry Dynamics
Mastering the Essence of the 4L Square Can Lid Mold: A Step-by-Step Guide

Mastering the craft of a 4L square cover mold requires a combination of technical knowledge, practical experience, and attention to detail. It's a complex process, but I can provide you with a step-by-step guide to help you understand the fundamentals. Please note that this guide assumes a basic understanding of metalworking and mold design principles. Let's start exploring this process:
Step 1: Gather requirements and specifications
Before you begin, gather all necessary requirements and specifications for the 4L square lid. This includes dimensions, material specifications, tolerances, and specific customer requirements.
Step 2: Design the mold cavity
Design the mold cavity of the 4L square lid according to the specifications. This includes determining the shape, dimensions, and characteristics of the mold, such as grooves, stamping, and other required details. Computer-aided design (CAD) software is used to perform precise and detailed mold cavity design.
Step 3: Select the mold material
Select the appropriate mold material based on factors such as the required mold life, the material to be formed, and the production amount. Common mold materials include tool steel, high-speed steel, and cemented carbide. Consult or refer to industry standards to determine materials suitable for your specific application.
Step 4: Build the mold block
The mold block is constructed with the mold cavity design as a reference. This requires precise machining of the mold material to form the desired mold shape. CNC (computer-digitally controlled) machine tools are often used to ensure accuracy and repeatability in this process.
Step 5: Add mold parts and elements
Incorporate the necessary die parts (such as punches, strippers, and thimbles) into the die block. These components help form and release the can lid during the stamping process. Make sure these parts are positioned correctly and fit well within the mold block.
Step 6: Heat Treatment vs. Surface Treatment
The mold blocks are heat treated to achieve the required hardness and toughness, thereby ensuring their durability and wear resistance. After the heat treatment is completed, appropriate surface treatment, such as nitriding or coating treatment, is performed to improve the performance of the mold and reduce friction.
Step 7: Fine-tuning and testing
After the mold assembly is completed, its performance needs to be fine-tuned through trial. Make necessary adjustments as needed to ensure the 4L square lid is formed, sized, and has the required surface finish. Repeat this step as needed until the desired effect is achieved.
Step 8: Production and Maintenance
After testing the mold, it is ready for production. The performance of the mold is continuously monitored during the production process and adjusted as needed to maintain quality and extend its service life. Regular maintenance (including cleaning, lubrication and repair) is essential to extend the life of the mold and improve its performance to a large extent.
Remember, mastering the design techniques of square hole molds is an ongoing learning process. This requires expertise in die design, material selection, and an understanding of the stamping process. Always strive for progress and communicate with industry professionals or experienced mold makers to enhance your knowledge and skills in this field.

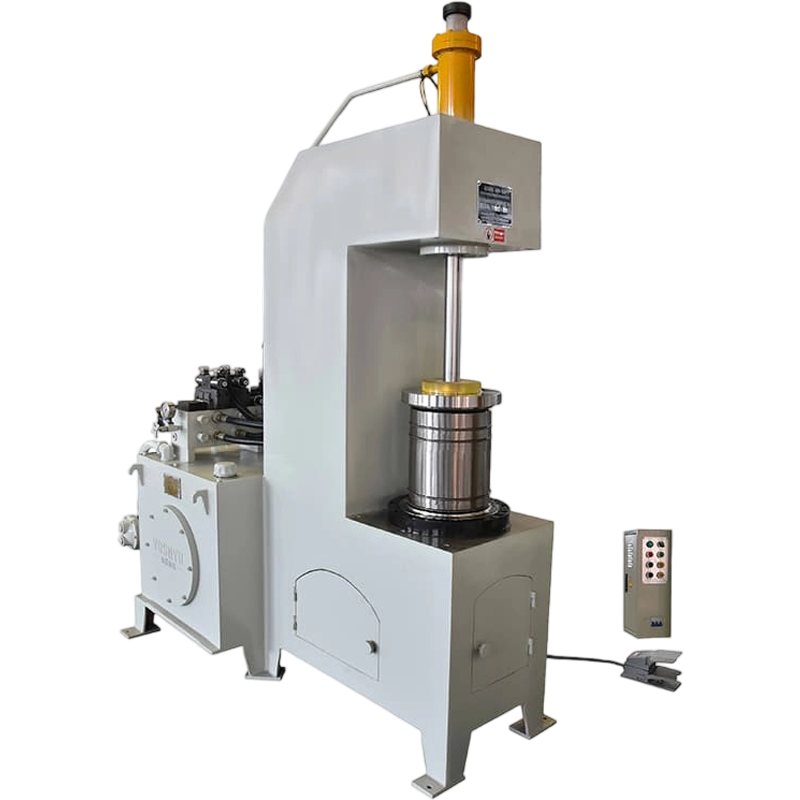
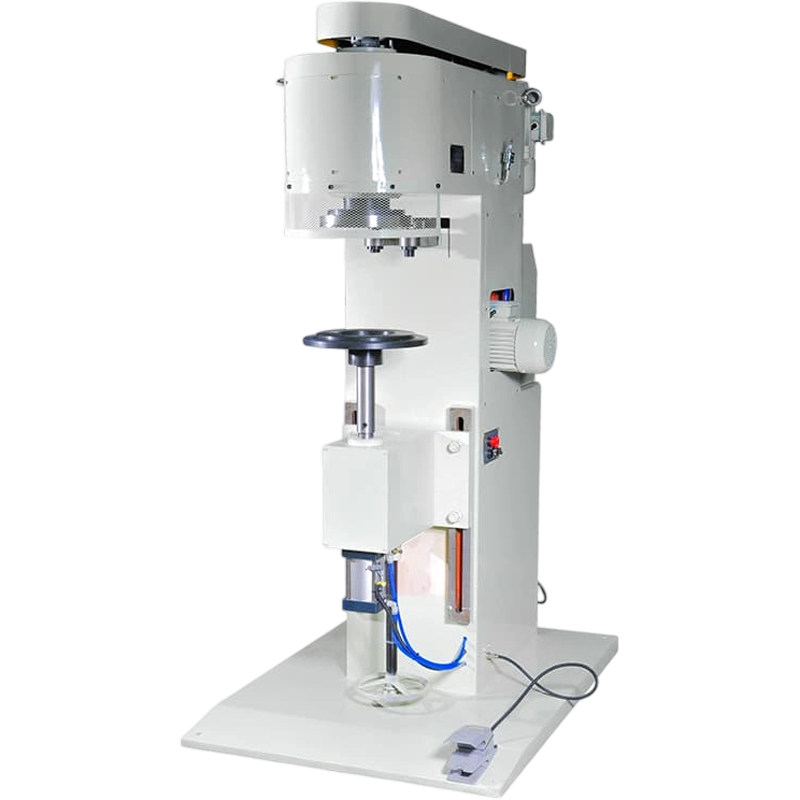
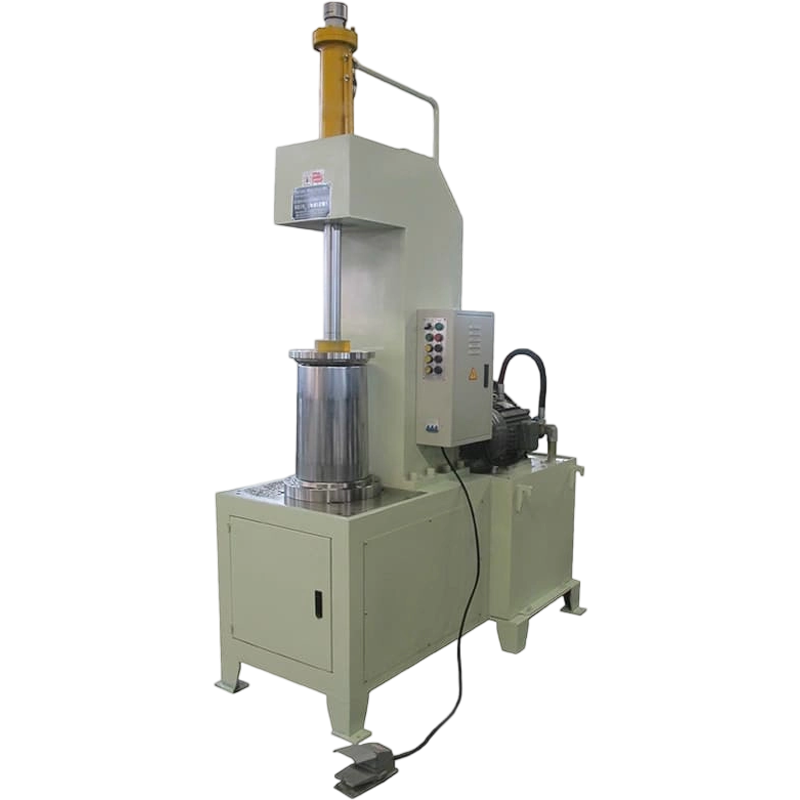
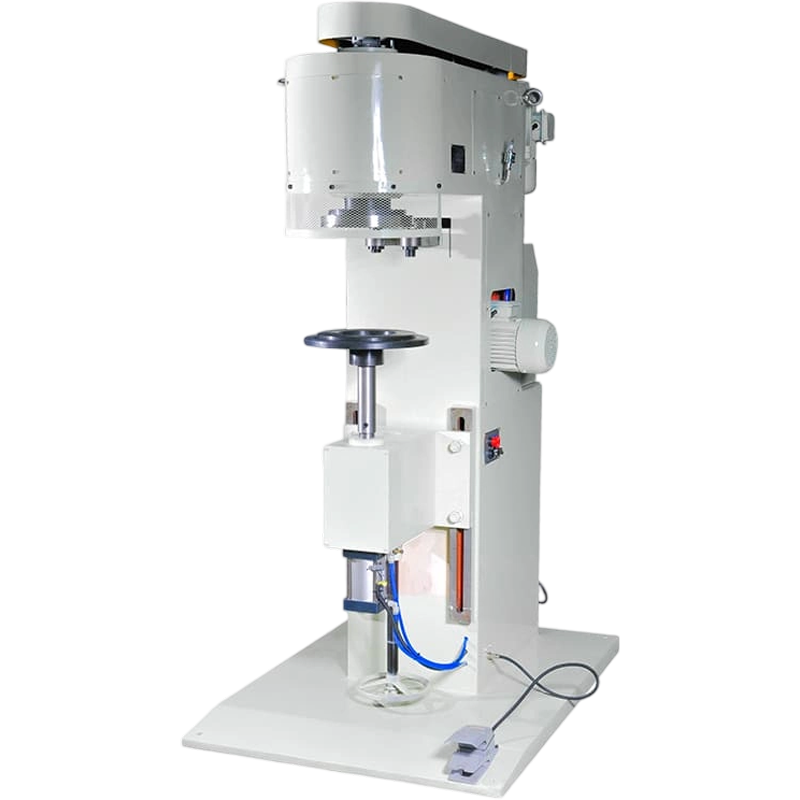
Recommended Products


Leave a message online!
Contact Us
- Mobile: +86-13666712509
- Tel: +86- 0573-8802501
- Email: yuequ@lkmach.com
- Whatsapp: +86 136-6671-2509
- Address: No. 5, Huatian Road, Siqian Community, Cengang Street, Dinghai District, Zhoushan City, Zhejiang Province
Quick Links
Product
- Convenient barrel production line
- 18 L Square Tank Production Line
- 1-5 liter square tank production line
- 1-5 liter round can production line
- Tea cans, craft cans (square cans)
- 18.5 Conical coating barrel production line
- 18.5 Straight Paint Bucket Production Line
- Vacuum cleaner [housing] complete set of equipment
- 50 L Chemical Barrel Production Line
- Forming mold
- Can lid production line
- 18-20 liter barrel production line
Mobile
Copyright © 2025 Zhoushan Dinghai Lekai Can Machinery Factory
